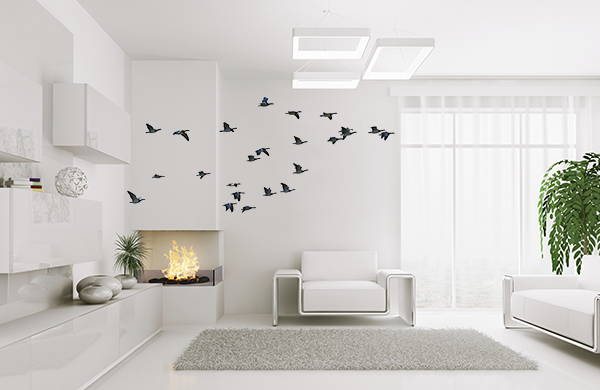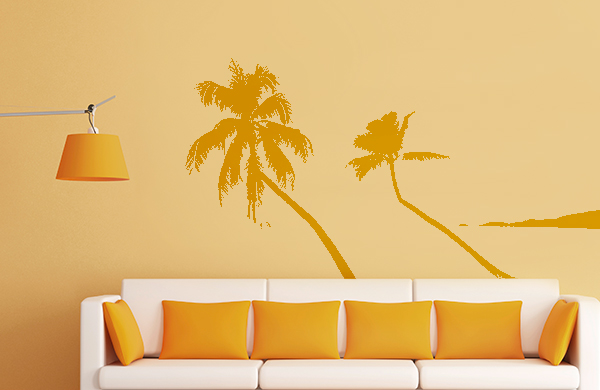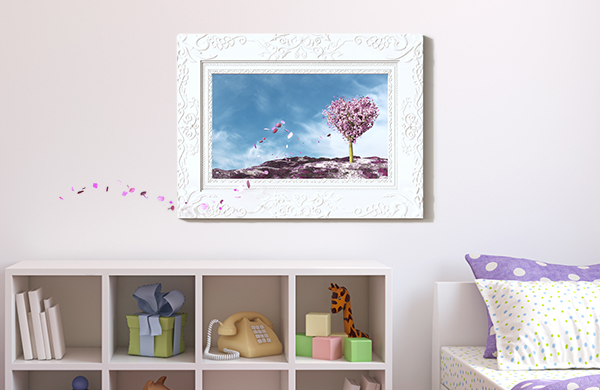
Wall decals expand your decor possibilities beyond just paint, wallpaper, and artwork—you can use them to fill an empty wall with a flock of birds, an abstract floral pattern, or a full city skyline. But not every design works with every space, so before you decide which type of vinyl wall art is right for you, read through these tips, which can make your decals look like they were hand-picked and applied by a pro.
Consider Color
This may seem obvious, but it’s important to consider how the color of a new decal will affect everything else in the room. Most importantly, think about how it will complement or contrast the color of your walls:
- For rooms with a bright wall color: try picking vinyls that are the same tone, but a shade lighter or darker.
- If your walls are plain white: pick designs that match the color of something else in the room, such as throw pillows, area rugs, or curtains.

Incorporate Windows, Corners, and Furniture in Your Design
With larger decals, placement becomes an important consideration. Where do you put a 10-foot landscape if your wall is only 9 feet long?
- Wrap larger designs around corners to create a sense of movement between spaces.
- Break up multi-segment options by using them to frame a window.
- Place tall images behind a sofa or headboard so they peek out—especially effective with floral designs, which appear to blossom out of your furniture.
Frame It!
Perfect for custom images or text—hanging an empty picture frame around a decal helps create a stronger focal point. Search online if you have a specific style of frame in mind, or look for interesting antique frames in second-hand or vintage stores.

Mix It Up
Integrating decorative objects can create an eye catching trompe l’oeil effect.
- Mix different objects in to add texture. A tree decal dappled with 3-D origami flowers, for instance, looks blooming and spring-like. The same tree set as a backdrop for framed family photos can create a visual metaphor.
- Use decals to play on the movement in a picture or photograph, creating the illusion that the environment of the picture continues into your living space. For instance, a family photo with a backdrop of fall foliage looks alive with a surround of decal leaves.

Tips and Tricks for Applying Wall Decals
After you’ve found just the right design and location, the last step is carefully applying the wall decal. Follow these tips to nail the application on the first try:
Enlist the Help of a Friend
This is especially critical for larger designs, which can bend or wrinkle if they aren’t properly supported during placement. An extra pair of hands also makes it easier for you to step back and check how the placement looks from every angle.
Clean Up Beforehand
Dust or dirt can create unsightly air bubbles beneath the image and reduce the sticker's staying power. Before applyingl, scrub away any smudges with a damp sponge and mild soap. Allow the wall to dry completely before beginning application.
X Marks the Spot
Decals with intricate details can be difficult and time-consuming to reposition, so you’ll want to get it right the first time around. Before peeling off the backing, hold the design in the exact spot you want to apply it and mark the corners lightly with a pencil (the friend you enlisted will come in handy here). When it comes time to apply, use those marks to line up the decal perfectly.


