How to Turn Photo-Booth Strips Into a Decorative Tray
If you’ve been to a wedding in the last five years, you most likely have a pile of wacky photo strips to show for it, thanks to the popularity of custom photo booths. Though the booths have been a huge hit at weddings for years now, their ubiquity doesn’t show any signs of slowing down. For wedding guests, the booths are a fun diversion, giving folks a form of entertainment beyond dancing or sitting at a table thinking about how much they hate dancing.
But what to do with all those photos once you get home?
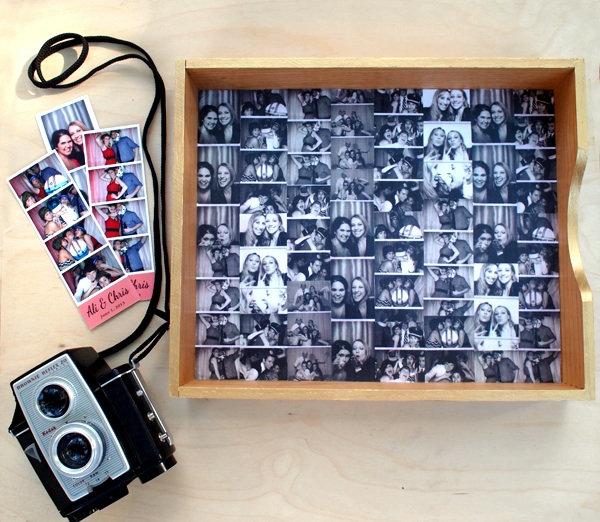
Instead of cramming them into a drawer or haphazardly hanging them on the fridge, you can follow this simple DIY to turn them into a stylish tray. The tray serves as a catchall accent piece to make a coffee table or side table appear organized and clutter-free. Plus, each time you sit down on the couch, you’ll be delighted by your friends’ goofy faces.
But don’t worry—to get this look you won’t have to destroy the original copies. All you need are a few craft supplies and the help from a scanner and printer.
What You Need:
- Photo strips
- Wooden or metal tray
- Gold paint
- Mod Podge
- Small paintbrush
- Scanner
- Printer
- Scissors
What You Do:
1. Scan your photo strips.
2. Print multiple copies of them so you have enough photos to fill up the entire tray.
3. Paint the top edge of the tray gold.
4. Mod Podge each strip onto the tray. If you need to cut them to make them fit better, go for it! I had photo strips of varying sizes, so I just made sure to overlap and cut the strips so each column is exactly in line.
5. After about 15 minutes, paint a layer of Mod Podge on top of the photo strips. Repeat this step three times every 20–25 minutes to get a shiny finish.
